How-to
DIY Bread Slicing Guide: How to Build a Wooden or 3D-Printed Slicer That Fits Your Loaf
A DIY bread slicer is a slicing guide you build yourself: a base board with two slotted side walls that hold your bread knife at a fixed slice width. Size it from your own loaf and knife, not from a generic plan – the walls must be taller than your loaf and the knife longer than the loaf is wide. Wood with a food-safe oil works; 3D prints need extra care, because their layer lines are hard to clean.
Disclosure: This page contains affiliate links (marked with *). If you buy through them, we earn a small commission at no extra cost to you. As an Amazon Associate I earn from qualifying purchases. Learn more
The short version
To build a bread slicing guide, measure your cooled loaf and your knife, then cut a base and two side walls with matching vertical slots at your slice width – commercial guides use about 1/4 to 1/2 inch (Bambüsi) or 10 to 30 mm (Akebono). Make the walls taller than the loaf, finish wood with food-safe oil, and treat 3D-printed versions with caution.
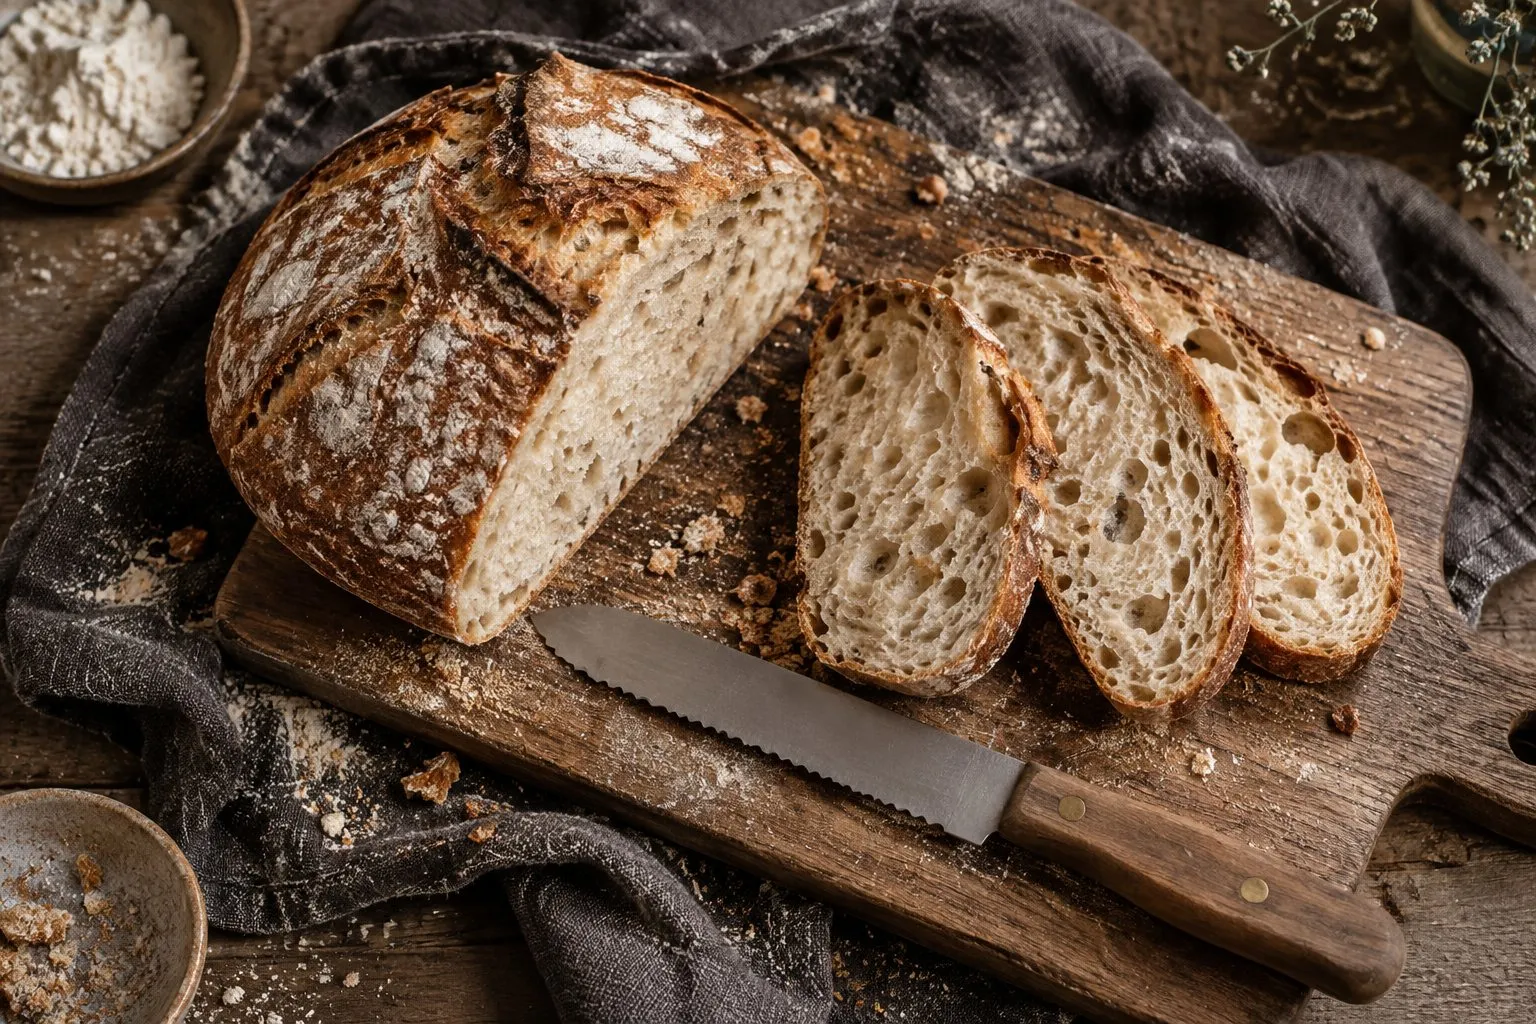
Result: a slicing guide sized for your own loaves and knife. Effort: an afternoon with basic woodworking tools, or a print job plus finishing. What you will not get: a blade or a machine – this guide holds your knife; a hand-crank slicer is the device with its own blade.
Why build one at all
Store-bought bread slicing guides are cheap, but most do not state how tall or wide a loaf may be. The Akebono PS-955 is the exception, with a published limit of 200 mm high and 140 mm wide (about 7.9 × 5.5 in); the Bambüsi bamboo guide lists loaves up to about 5.5 inches wide and 5 inches tall. Wide sourdough boules and tall homemade pan loaves often exceed both. Building your own is the way to get walls high enough and slots exactly where you want them.
Measurements to take first
| What | Why it matters | Reference values from commercial guides |
|---|---|---|
| Loaf width at the widest point | Sets the distance between the side walls | Akebono: up to 140 mm; Bambüsi: about 5.5 in (listing) |
| Loaf height at the top of the dome | The walls must be taller, or the top of the slice is unguided | Akebono: up to 200 mm; Bambüsi: about 5 in (listing) |
| Loaf length | Sets the length of the base | Kiss Core cutting area: 12.8 in long (listing) |
| Slice widths you use | Sets the spacing between slots | Bambüsi: 0.25, 0.38, 0.5 in (listing); Akebono: 10, 15, 20, 25, 30 mm |
| Knife length | The blade must cross the loaf with room to saw | America's Test Kitchen: serrated, at least 9 in |
Measure the baked and fully cooled loaf, not the pan or banneton. We give no fixed cutting plan on purpose: the right dimensions are the ones of your loaf plus a little clearance.
Tools and material
- A board for the base and two pieces for the side walls – hardwood or bamboo for a wooden guide, or a 3D printer and filament
- A fine saw for the slots, clamps, a square, sandpaper
- Wood glue or screws for assembly
- A food-safe oil for wooden parts
- Your serrated bread knife, to test the slot fit
Follow the safety instructions of every power tool you use; we do not give woodworking safety advice beyond that.
Step by step
Measure loaf and knife
Measure your cooled loaf at its widest and tallest point and the usable length of your serrated knife. The knife should be longer than the loaf is wide; America's Test Kitchen recommends at least 9 inches.Choose the slice widths
Pick one or more slice widths. The spacing between neighboring slots is the slice thickness. Bambüsi uses 0.25, 0.38 and 0.5 inch, Akebono 10 to 30 mm in 5 mm steps – a useful range to copy.Cut base and side walls
Cut a base longer and wider than your largest loaf and two side walls taller than its highest point. Leave room behind the last slot for a stop that keeps the loaf from sliding away from the knife.Cut matching slots
Clamp both walls together and cut the vertical slots in one pass, so they line up exactly. Make each slot just wide enough for the blade to move without play, and test the fit with your knife after the first one.Assemble and finish
Fix the walls to the base at the width of your loaf, sand all edges, and rub wooden parts with a food-safe oil. For a 3D-printed guide, read the section below before it touches bread.Test and adjust
Slice a cooled loaf with gentle sawing strokes and little downward pressure, using the full length of the blade. If slices come out uneven, check that the slots in both walls line up and that the knife does not wobble.
A detail worth copying from commercial guides: several, including the Kiss Core and CAWIU sets, advertise that the knife cuts through to the bottom of the loaf. In a homemade guide, that means the slots run all the way down to the base.
Wood: finish and care
Keep the finish simple and food-safe. ritter's food-slicer manual asks owners to rub food-safe oil into the slicing board of its models with a board; Zassenhaus tells owners to wipe its beechwood board with a slightly damp cloth, dry it carefully and oil it at regular intervals, and notes that wood can discolor, crack or warp. Bambüsi's care rule for its bamboo guides – wipe, dry thoroughly, never soak – applies to a homemade guide just as well. Brush crumbs out of the slots before wiping.
3D-printed guides: what the printer maker says
For a printed guide, food contact is the weak point. Prusa Research's knowledge base makes these points:
- The grooves between layers are almost impossible to clean properly and can harbor bacteria; they can also absorb detergent.
- Pigments and unknown additives are a concern; uncolored, natural PETG is named as the best bet, PLA only sometimes.
- Standard brass nozzles are not considered food-safe; stainless steel or titanium nozzles are recommended.
- Resin prints are not food-safe by default.
- Food-safe certified epoxy coatings or using prints only as molds are options.
Prusa sums it up by saying it does not recommend 3D prints as food containers. If you print a guide anyway, one way to limit contact is to print only the side walls and set the loaf on a separate wooden or plastic cutting board between them.
Typical mistakes
- Walls lower than the loaf. The top of each slice is cut freehand and leans.
- Slots cut one by one. Small offsets between the two walls make wedge-shaped slices.
- Slots wider than the blade. The guide stops guiding.
- Slicing warm bread. No guide prevents torn crumb; the technique is in how to slice homemade bread.
- A short knife. If the blade does not cross the loaf, you push instead of saw – see the best knife for sourdough.
Build or buy?
If your loaves fit a commercial guide, buying is faster. The Akebono PS-955 is our pick among slicing guides because its limits are published; bamboo alternatives are on bamboo bread slicers.
Akebono PS-955 guide
A compact Japanese slicing guide with five fixed thicknesses and a crumb tray – you bring your own bread knife.
Why here: If your loaves are no larger than 200 mm high and 140 mm wide, this documented guide saves the build – five steps from 10 to 30 mm.
Best for: Sandwich and pan loaves up to 7.9 in tall and 5.5 in wide, sliced with your own bread knife.
Strengths
- Five settings: 10, 15, 20, 25 and 30 mm (about 0.4 to 1.2 in)
- Light: about 13 oz (374 g), 9.3 × 6.3 × 2.7 in – fits a drawer
- Removable crumb tray, made in Tsubame, Japan
Weaknesses
- No knife included
- Loaf up to about 7.9 in high and 5.5 in wide – too narrow for most round boules
- Hand wash only; plastic parts heat-resistant to 70–120 °C (158–248 °F) per part
- Type
- Slicing guide for a bread knife
- Blade
- none – bread knife sold separately
- Slice thickness
- 10 / 15 / 20 / 25 / 30 mm (about 0.4–1.2 in)
- Loaf size
- up to 7.9 in high × 5.5 in wide (200 × 140 mm)
- Size
- 9.3 × 6.3 × 2.7 in (235 × 159 × 69 mm)
- Weight
- about 13 oz (374 g)
Price class: Budget
View on Amazon(paid link to Amazon, opens in a new tab)Ad · paid link · check price & delivery on AmazonLearn more AdFor loaves too large for any guide or several loaves a week, compare a crank slicer in guide or hand-crank slicer, and see the manual bread slicer overview for every type.
Questions readers ask
How wide should the slots in a DIY bread slicer be?
Just wide enough for your knife blade to move without play – the slot guides the blade, it does not set the slice. The slice thickness is the distance between neighboring slots. Commercial guides use slot spacings of 0.25, 0.38 and 0.5 inch (Bambüsi) or 10, 15, 20, 25 and 30 mm (Akebono). Test the fit with your own knife before cutting all slots.
Is a 3D-printed bread slicer food safe?
Not automatically. Prusa Research, a 3D-printer maker, warns that the grooves between printed layers are almost impossible to clean properly and can hold bacteria and detergent. It names uncolored PETG as the best filament choice, food-safe certified epoxy as a coating, and stainless or titanium nozzles instead of brass. Prusa does not recommend 3D prints as food containers.
What wood finish is safe for a bread slicer?
Use a food-safe oil and keep the finish simple. ritter's food-slicer manual says to rub food-safe oil into the slicing board of its models with a board, and Zassenhaus asks owners to oil its beechwood board at regular intervals. Bambüsi tells owners of its bamboo guides to wipe them with a damp cloth, dry them and never soak them – the same care suits a homemade guide.
Is it worth building your own bread slicer?
It is if your loaves do not fit commercial guides or you want a specific slice width. The Akebono PS-955 is the only guide in our comparison with a published loaf limit, 200 mm high and 140 mm wide; many boules are wider. If your loaves fit, a budget guide is quicker than building one.
Sources we read
- Globalkitchen Japan: Akebono bread slicer PS-955 (technical data)
- Bambüsi: Foldable Bamboo Bread Slicer & Knife, BAM-FBS (product page, care)
- Prusa Research Knowledge Base: Food safe FDM printing
- ritterwerk: Manual food slicer operating instructions (PDF, multilingual)
- Zassenhaus: Bread slicer CLASSIC user's guide (PDF, multilingual)
- America's Test Kitchen: How to slice bread (knife length)
Keep reading
- Buying guideBread slicing guidesBread slicing guides compared by spec sheet: thickness steps, loaf size, knife or no knife, plastic or bamboo – and when a guide is the wrong tool for your loaf.
- Buying guideBamboo bread slicersBamboo and wooden bread slicers compared by listing and maker data: loaf height and width, slice steps, knife included or not, crumb tray, folding and care.
- How-toHow to slice homemade breadHow to slice homemade bread evenly: cool it completely, use a serrated knife of at least 9 inches, saw with little pressure – and when a guide or crank slicer helps.
- Buying guideSourdough bread knifeWhich sourdough bread knife cuts a crusty boule cleanly? Blade length, serrated edges and bow knives explained, with our pick and the alternatives compared by spec.
- ComparisonGuide vs. hand crankBread slicing guide or hand-crank slicer? How loaf width, height, how often you slice, storage and price class decide – compared by spec sheet, not by opinion.
Who compares here
manualbreadslicer.com Editorial Team
Bread slicer comparisons & explainers
We are the editorial team at manualbreadslicer.com. We compare hand-crank bread slicers, slicing guides and their electric alternatives using manufacturer spec sheets, manuals, retailer data and primary sources such as Lemelson-MIT – with sources on every page. We do not run lab tests, and we say so openly.
- Spec sheets & manuals compared
- Sources on every page
- No lab tests – stated openly
- Publisher details in the imprint